Showing posts with label fitting. Show all posts

Wednesday, June 19, 2013

Feelin' a bit snake-y

I finished making this top a few weeks ago after I gave you a sneak peak and I finally got some photos so I could share what I was working on.


This is the second time I've made Vogue 8649, the first time I made up this pattern I was less than satisfied with the fit.  Around the time I was making it Shams and Robin had written letters to the Big four pattern companies (I'm sure you would have read them) voicing some of the issues we sewists have in regard to the way their patterns fit.  Weeeell... I must say that I wholeheartedly agree with them!!

This particular pattern is designed to custom fit for your individual cup size and the first time I made it I followed Vogue's directions to calculate the correct size.  I'm a DD and according to the instructions for taking my measurements I should be making the size for a C cup, which I did.  I know the pattern is designed for the inclusion of shoulder pads, which  BTW I don't really care for, but since when is 'gridiron armour' classed as fashion wear?  It's the only way the C cup sizing would have fitted me.  I mean, really, what the...?

Fortunately I decided that had the top fit me I did actually like it so thought I'd give it another go and make it with the three quarter sleeve.  I had bought a few great knits a couple of weeks ago and this one was perfect.  A great combination of colours and a fabulous animal print.

Having decided to make another one, if I wanted this one to fit me better then some alterations were in order.  To remove the excess fabric would be difficult with the kimono style sleeve so I started by checking if there was a finished bust measurement on the pattern.  Yes!  Great!  Checked this against my measurements and the amount of ease I like and decided to go with the A cup fitting.  This reduced the front length more in line with how I like my clothes to fit. But what about the back you ask?  That's a good question.  I laid the front pattern piece over the back piece and found that I needed a size 10 for the length and a size 14 in width.  I traced off a new pattern piece using the 10 at the shoulder and the 14 at the underarm.  The lower section was a good fit so no alterations here.


Back view - no excess fabric. Yay!
Now it's not that I'm saying I'm perfect but I think I'm a fairly average sized person so why did I need to make these alterations Vogue?  Please explain!

Sleeve shaping
Ignore my muffin top made by freshly washed jeans - this is about the top

Needless to say after making these alterations to remove the excess fabric I'm really happy with the way it turned out the second time around.  I'll get a lot of wear out of this one and it's perfect for my new job.

What about you, do you need to make such drastic alterations to get a good fit?


Details:
Top; Vogue 8649, my review of this pattern here
Jeans; Just Jeans
Shoes; Wittner

Friday, May 31, 2013

Waiting!

Remember this skirt?  The poor thing has been sitting in my sewing room.  Waiting.  Yes, waiting!  Ohhh yeah, that's right... you're not the only one who would rather start sewing from scratch instead of altering an ill-fitting garment.  So... it's been waiting.  Waiting for about 18 months for me to decide that I really need to get a move on and fix it so I can be wearing it again.

Even when I first made this skirt back in 2011, I was never happy with the fit of it.  The design sits lower than the waist but isn't low on the hips either.  For me, this isn't a very comfortable design; it just seems to float around.  Because I have a small waist, it defies gravity and doesn't stay put resulting in a skirt I didn't wear.   I decided an alteration was necessary if I wanted to wear it again so into the sewing room it went to wait, and wait it did!

Fast forward to 2013 and I finally did it.  It was way too big all over so I removed the waistband and took it in 4cm (2cm doubled) on each side all the way to the hem.  I made two extra darts in the front to accommodate my small waist, reattached the waistband and here we  have the end result.  A skirt that fits, is comfortable and I will definitely wear.  Often!  It looks much better now, don't you think?

What about you?  Do you leave things this long, or maybe longer, before you actually get around to doing alterations?

Don't know what's going on with the frown!

Note to self:  Take more than one picture; straighten your clothes and make sure you're ready for the photo to be taken and stop frowning!!


Thursday, November 1, 2012

Summer breeze


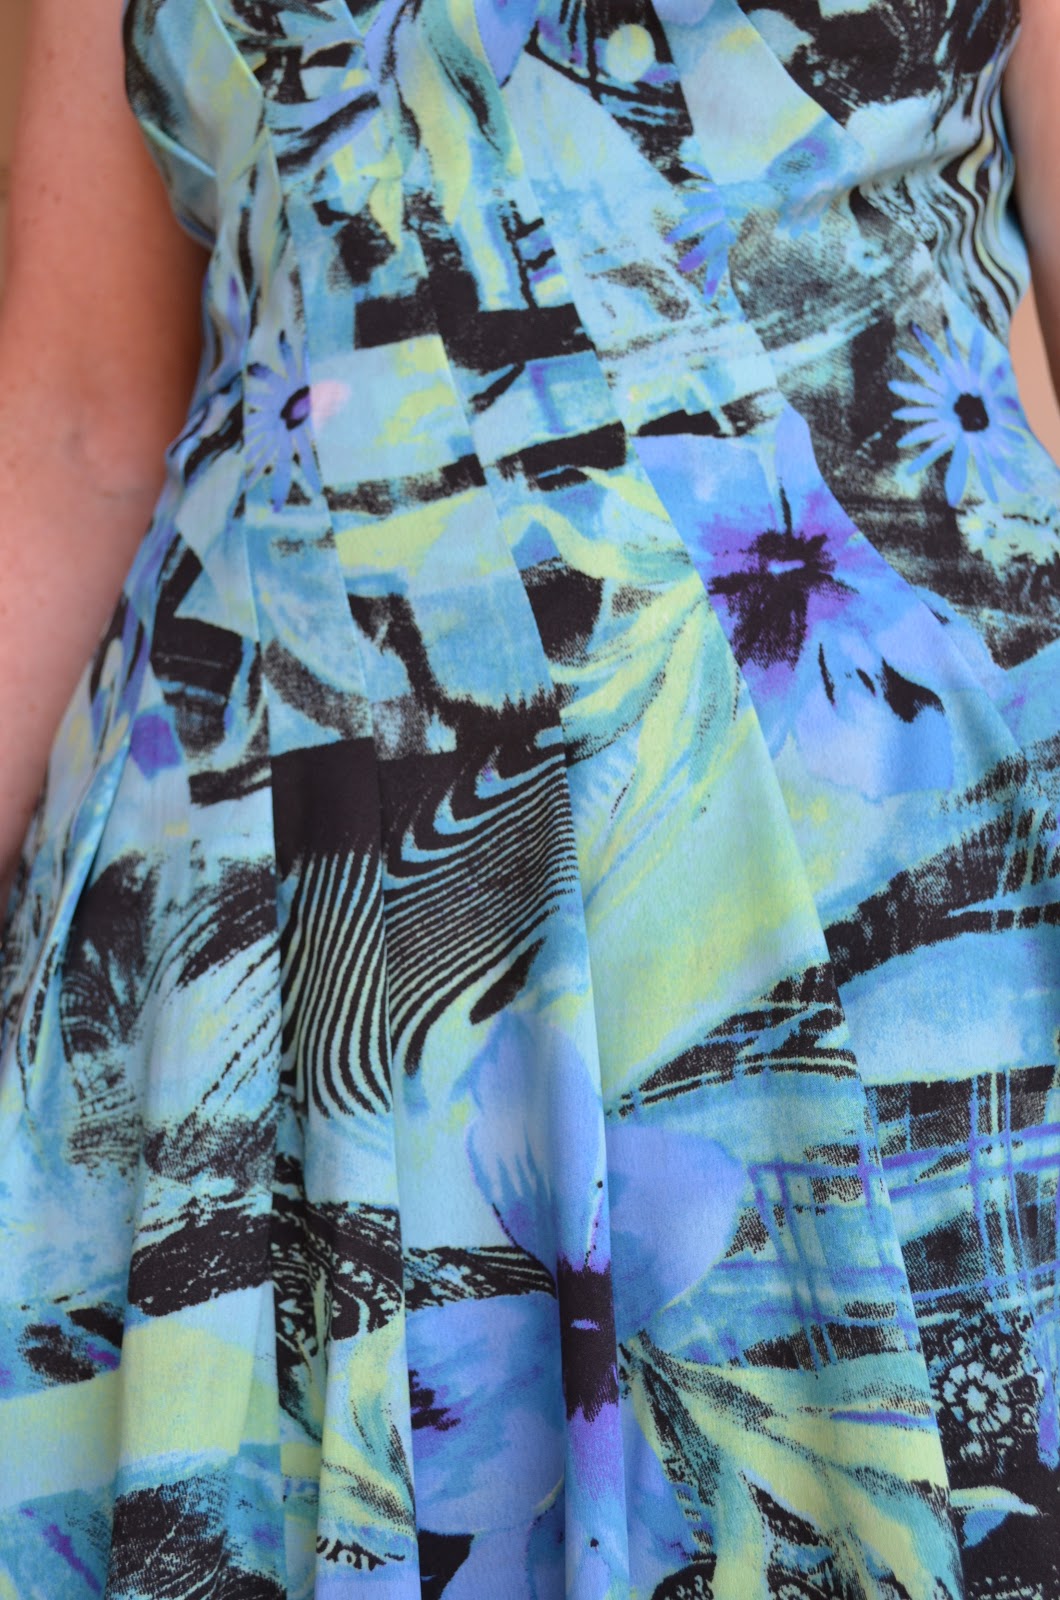
Now I know this is going against what I said about my seasonal sewing plans where I was only going to add plain colours to my wardrobe but I was working on this dress (I promise - I really was) before I decided on my plan.  The beautiful colours, which I might add, are perfect for my 'Cool Summer' colour palette that I talked about in this post, and the light fabric were just irresistible to me, they reminded me of a Summer breeze, so naturally I had to make something with it.  No?  The occasion - my granddaughter's Christening.

I have very few dresses in my repertoire and needed something special.  Dressy but not over the top.  Sooo... the search for a pattern started.  I eventually decided on Anne Klein for Vogue V1223.  When I found the fabric it seemed that they were just made for each other.  I carefully laid out the fabric in a single layer making sure I had it right before placing the pattern down all the same way.  After all I didn't want to get any back to front pieces now did I.  I cut the first piece; turned it over to mark darts etc and OMG!   I have cut it out on the wrong side of the fabric - well I think I have, more checking - yep I cut it on the wrong side.  You can see which side is which, can't you?  Neither could I.  I figured if I couldn't tell, nobody else could either so I continued cutting and yes, I made this dress wrong side out.

Wrong side - Right side (I think)
Fraying fabric
I don't know what the fabric is called but it's a polyester similar in weight to a Georgette (which frays a lot) and I lined it with a blue Sunsilky.  My review of this pattern is below.  I really like the pleat detail on this dress. Stitched down at the shoulder and again through the waist to hip on the front and back.  Very soft and floaty.

Bodice pleat detail

Waist pleat detail

But then there was a problem.  The design of the pattern pieces didn't allow for any length alterations for the short waist that comes with my vertically challenged figure.  So, I did a most unconventional alteration for the waist length.  I pulled the dress up and took it out from the shoulder.  I mean, everyone does this, right?  Well, maybe not, but hey - it worked for me.

Alteration for short waist

Now everything is sitting where it should be; waist at waist level and neckline not to low.  I did have one more problem.  Not enough time to let it 'hang' before stitching the hem.  It dropped a bit more during the week I was in Melbourne before the Christening.


This photo was taken the next day when I got home as I forgot to get a photo while I was wearing it.  Without make-up and hair not as well done.  I styled it with this green jacket, a black belt, jewellery and sandals and a blue bag.


Dress: Vogue V1223
Jacket: Katies
Belt: A new little shop in town - can't remember the name
Jewellery: Big W
Shoes: Zenzu from Faulls


Pattern Description:
Mid-knee lined dress, fitted at bust, has pleated front and back skirt, back zipper and very narrow hems
Pattern Sizing:
8-14, I made the 14
Did it look like the photo/drawing on the pattern envelope once you were done sewing with it?
Yes it did
Were the instructions easy to follow?
Mostly they were but they appeared incorrect for the pleating.  The instructions were telling you to sew the pleats down on the front when clearly on the envelope they were not.  The were correct for the back.  I also found them a little vague or incomplete when stitching the shoulder seams.  This is my first time lining a dress and couldn't quite figure out how it worked.  I finished by stitching the shoulder seams by hand.
What did you particularly like or dislike about the pattern?
I particularly like the pleat details but found them inclined to stretch out of shape a little while stitching them even though I was careful.  This could be because they are on the bias or it could have been the fabric I used.
Fabric Used:
Polyester 
Pattern alterations or any design changes you made:
I always need to shorten the waist in patterns and this design does not lend itself to being shortened here.  So, as I usually find that I am short from the shoulder to the bust point not necessarily at the waist I removed an inch from the shoulder seams then reshaped the back neckline and the armhole.  This worked very well.
Would you sew it again?  Would you recommend it to others?
Probably not. I don't really need more that one dress in this style
Conclusion:
A very nice dress which is comfortable to wear.


 Leaving you with a photo of my son and daughter-in-law and beautiful Liana.


Monday, August 22, 2011

Help! My first muslin!

Blogoshpere,  I'm calling for your advice and guidance.  As you know I am making the Rooibos dress.  So I have measured and made my pattern ready.  The next step in the sewalong is to make a muslin.  At this point I thought I would only sew up the bodice because the pattern looked quite short in the armscye and I didn't want to waste time and fabric if I was to need a larger size.  Now I don't know anyone who sews that can help me with the fitting of the muslin.   I can't do it alone, so after much coaxing by myself I managed to get David to help.  Finally...I'm pinned in!  (He made it seem like  such a mammoth task - I had no idea!)  

Front view
Back view
What's with the boobs on my back?


Obviously I need to adjust the back darts as they are way to sharp creating a back bustline.  After more pinning (and loss of blood, not mine - David's hehe!) the darts are much better but I continue to have wrinkling across my back.  What is the causes this?


This is my first attempt at a muslin and I have not done any fitting before other than minor shortening etc.   I'm at a loss as to what to do hence my seeking your advice.  My dilemma is this.  To remove the wrinkles from the back should I a) lift it out at the shoulder (note- I'm short and always make shortening adjustments at waist level but I probably really need to take it from between the shoulder and bust if that makes sense) or b) do I need to make a full bust adjustment.  But then maybe I need to make a size larger as it is very firm.  I do like things to be well fitted but also with room to move.

The pattern also has a fitting problem at the shoulder, it's to wide for me.  I don't know how I should correct this either.   In the past I have just redrawn the seam line.  Is this the right way to do an adjustment here or do I make pleats/tucks in the pattern?  I have no idea!

So what do you think?  Is there some secret to knowing where or what adjustments I should make?   Or is my short curvy figure just not suited to this pattern?  Maybe my fitting assistant is not cut out for the job although I'm very proud of his efforts.  Even though he claims he needs a blood transfusion.  Hehehe!  Both the back darts are pinned to the same length and that in itself is a great achievement.  I'm going to put this project aside for a few days so I can return with, hopefully some guidance from you, my internet friends...